Running a business is a whirlwind of tasks, and managing your finances can feel like navigating a maze. QuickBooks Online helps streamline the process, and even better, it lets you bring in the professionals! Adding your accountant to QuickBooks Online is like giving your business a financial co-pilot, ensuring you’re on the right track for success.
Why should you add your accountant? Simple: expert guidance and efficient collaboration. Accountants can provide invaluable insights into your financial data, help you optimize your books, and even assist with tax preparation. By giving them access to your QuickBooks Online account, you’re enabling seamless collaboration, saving time, and minimizing errors.
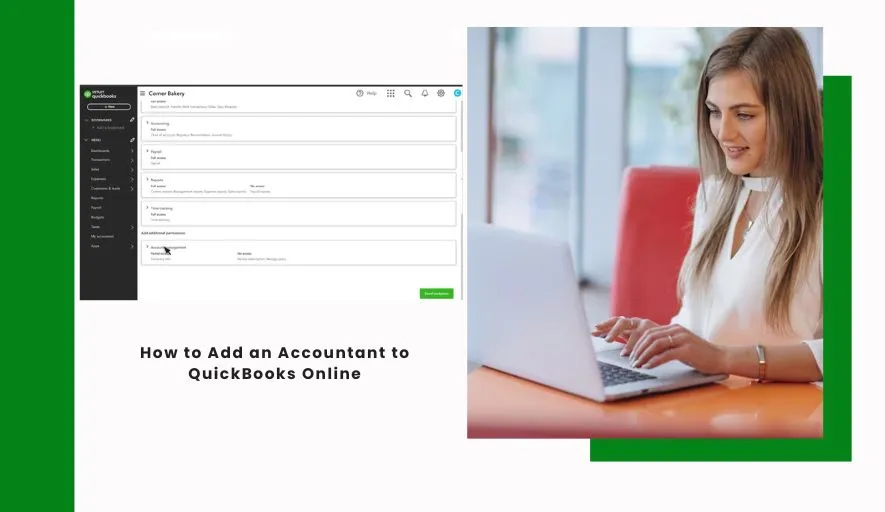
Ready to give your finances a boost? Here’s a step-by-step guide on how to add an accountant to QuickBooks Online:
1. Log in to Your QuickBooks Online Account:
This might seem obvious, but let’s start with the basics! Make sure you’re logged in as the Master Administrator or a user with the necessary permissions to manage users.
2. Navigate to the “Accountant” Tab:
Once you’re logged in, look for the “Accountant” tab in the left-hand navigation menu. If you don’t see it, you might need to click on a “More” option to reveal it.
3. Invite Your Accountant:
Click on the “Accountant” tab. You’ll see a button that says “Invite Accountant” or something similar. Click on it!
4. Enter Your Accountant’s Email Address:
A pop-up window will appear. Here, you’ll need to enter the email address your accountant uses. Make sure it’s the correct email address, as this is how they’ll receive the invitation link.
5. Customize the Invitation (Optional):
You might have the option to add a personalized message to your accountant. This is a great way to introduce yourself and briefly explain why you’re inviting them.
6. Send the Invitation:
Click the “Send Invitation” or “Invite” button. This will send an email to your accountant with a link to accept the invitation.
7. Confirmation and Follow-Up:
After sending the invitation, you should see a confirmation message on your QuickBooks Online screen. It’s a good idea to follow up with your accountant to ensure they received the invitation and are able to access your account.
What happens after your accountant accepts the invitation?
Once your accountant accepts the invitation, they’ll be able to access your QuickBooks Online account based on the permission levels you’ve set. They can then:
- Review your financial data: Analyze your income, expenses, and balance sheet to identify areas for improvement.
- Reconcile your accounts: Ensure your bank and credit card statements match your records for greater accuracy.
- Assist with tax preparation: Provide guidance on tax planning and help you prepare your tax returns.
- Troubleshoot issues: Help you resolve any accounting issues or errors you may encounter.
Important Considerations:
User Permissions: Control what your accountant can access and do within your QuickBooks Online account. You can adjust permissions to grant them specific access levels, such as viewing only, editing, or full access. Carefully consider the level of access your accountant needs to perform their tasks effectively.
Communication is Key: Maintain open communication with your accountant. Share your questions, concerns, and business goals to ensure they can provide the best possible advice and support.
In conclusion
Adding your accountant to QuickBooks Online is a smart move that can significantly benefit your business. It streamlines collaboration, provides expert guidance, and helps you manage your finances with greater accuracy and efficiency. So, take a few minutes today to invite your accountant and unlock the full potential of your QuickBooks Online account!